

Description
PLEASE READ THE FULL DESCRIPTION. UPDATED 11/2025.
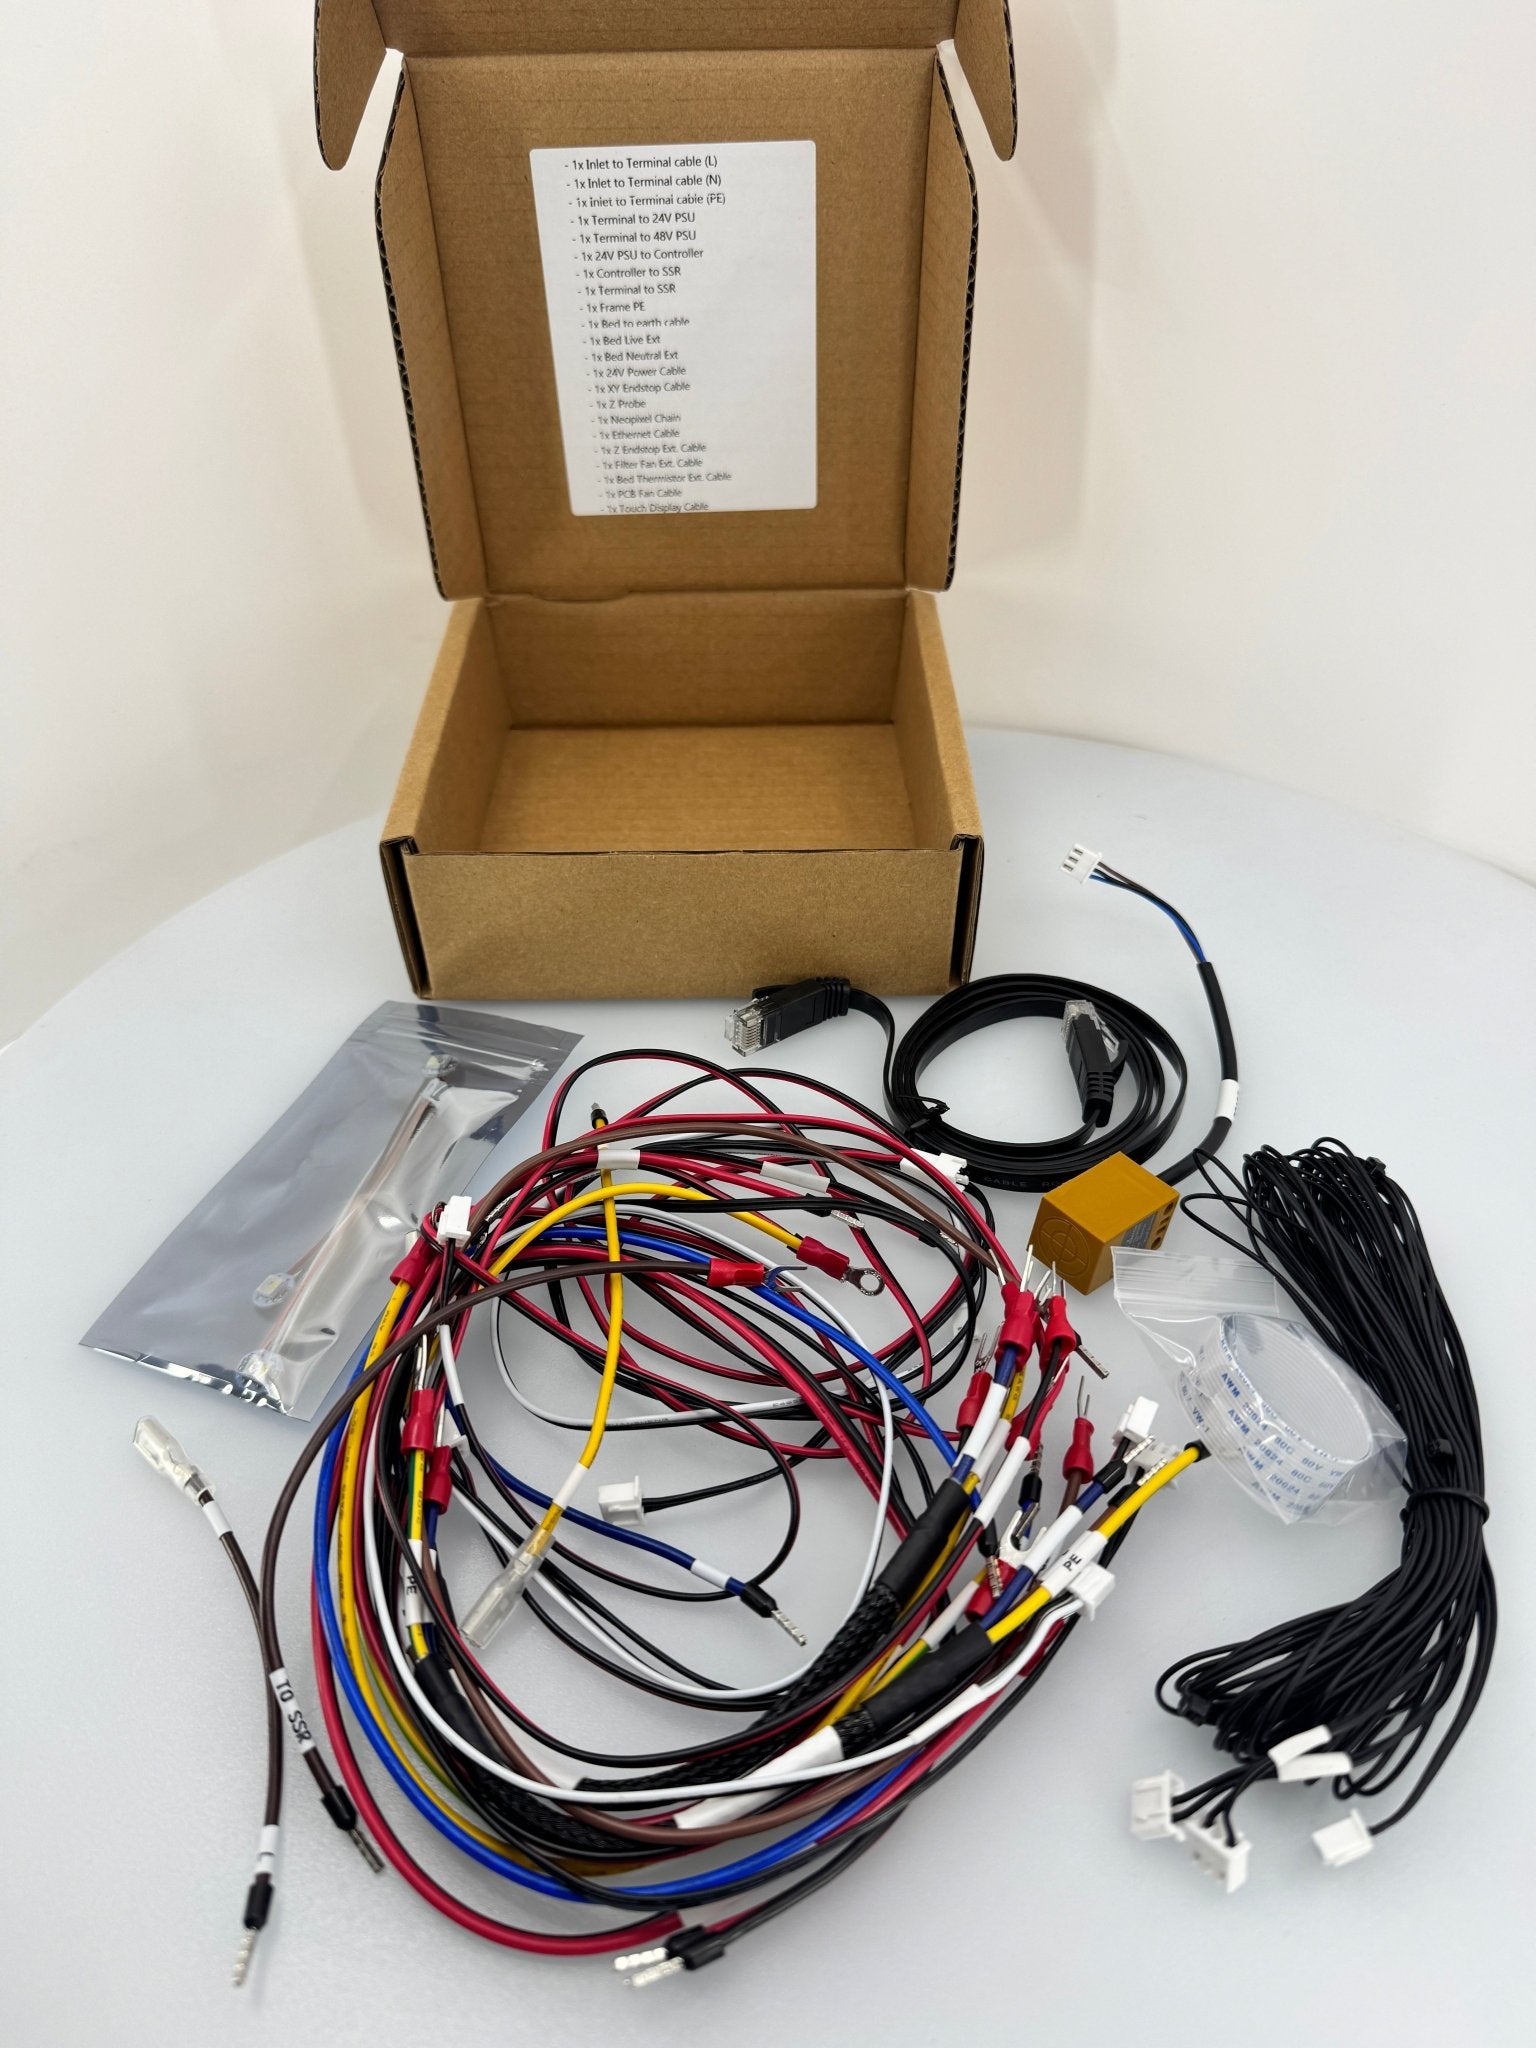
This may come with limited extras like a free Omron Probe and Ethernet cable which are non-standard for our kit (but nice to have!)
This pre-crimped harness comes with all wire (including mains) most will need for their 2.4 build. It’s modified off of the V2.4 350 LDO Kit. This batch has removed toolhead wiring to be flexible with whatever you decide to go with (e.g CAN, 14-pin harness etc.)
This kit comes pre-crimped for a Leviathan controller board but will work with most others with limited change required. It comes with power connectors standard for the Tyco Power Inlet and ZF Rocker switch. The kit wires are provided at length for a 350mm build, however will work with smaller builds as well (with extra wire of course). By default this is intended to use with an XY and Z Endstop - you can find them here (here for hall effect), and here for Z endstop.
Below is a brief summary of what is included (all labeled):
Neopixel wiring (pre-soldered)
X Endtop
Y Endstop
Inlet to Terminal cables (L/N/PE)
Terminal to PSU (both 24v and 48v)
PSU to controller
Controller to SSR
Terminal to SSR
Frame to Earth
Bed to Earth
Bed to Live
Bed to Neutral
24V Power
Z endstop extension
Filter Fan extension
Bed Thermistor Extension
PCB Fan Cable
Display Ribbon Cable