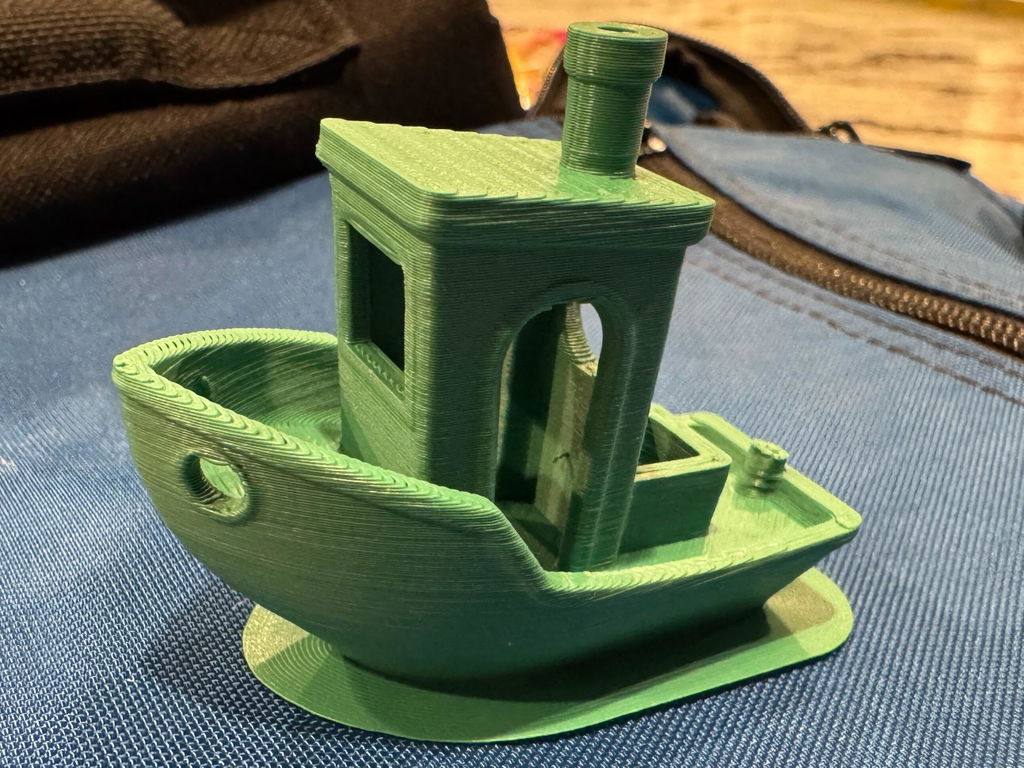
Very interesting material! Really love the idea of biodegradable material to remove the waste guilt for failed/test prints. It is quite soft (low tensile strength?), has some flex before breaking and has a matte finish. I wouldn't call this a PLA replacement since it lacks PLA's rigidity/strength and bridging support isn't as good as other plastics. I haven't found a mechanical use for it besides using it for test prints before re-printing in a stronger material. I also couldn't get Creality Slicer to accept a bed temp of 0, so I used PrusaSlicer instead. For my prusa mk3.5 0.4mm, Temp: 210, Bed: 0, Extrude: 1.05, Cooling: 80-100%, Max vol: 9mm3/s, Ramping lift up to 0.2mm, 35 deg slope, 1 mm retraction length, wipe 80%, 20mm/s bridges, 8mm outer brim with 0 separation gap.

Makes inserting all of the inserts for my printer builds a lot easier, and it was a fun project as well.

Well, for starters, the GitHub locks of instructions on how to assemble it, but let's be fair, a lot of projects depend on you using a CAD software, which I think it shouldn't be happening in 2026.
Now, the LDO kit. The quality parts, everything well packed, nothing wrong with that. However, there are a lot of missing parts: you need to source your own M3 nuts, your own screws to build the frame and I don't know if the GitHub has a revised version of handle, but the M3x14 didn't work, I had to use my own set of M3x16.
Either LDO double-check their kits or make a GitHub with their own version, or update the hardware on them.
Also, I didn't notice until now, but the extrusions are longer than spec, about 2mm longer. Seriously I'm disappointed of the lack of quality control.

Overall this has been working quite well and will probably be a go to mod for any future builds.
Assembly is a bit annoying lots of small parts to manage. I agree with the other reviews that some extra of the small pieces would be a good QOL change. Overall seems like a good product and a fair price.

Thanks West3D for selling SSRs at a fair price. Finally get to run my Voron beds with full power within safety margin.

Best filament I’ve ever used. Love the colors and prints smooth and fast.

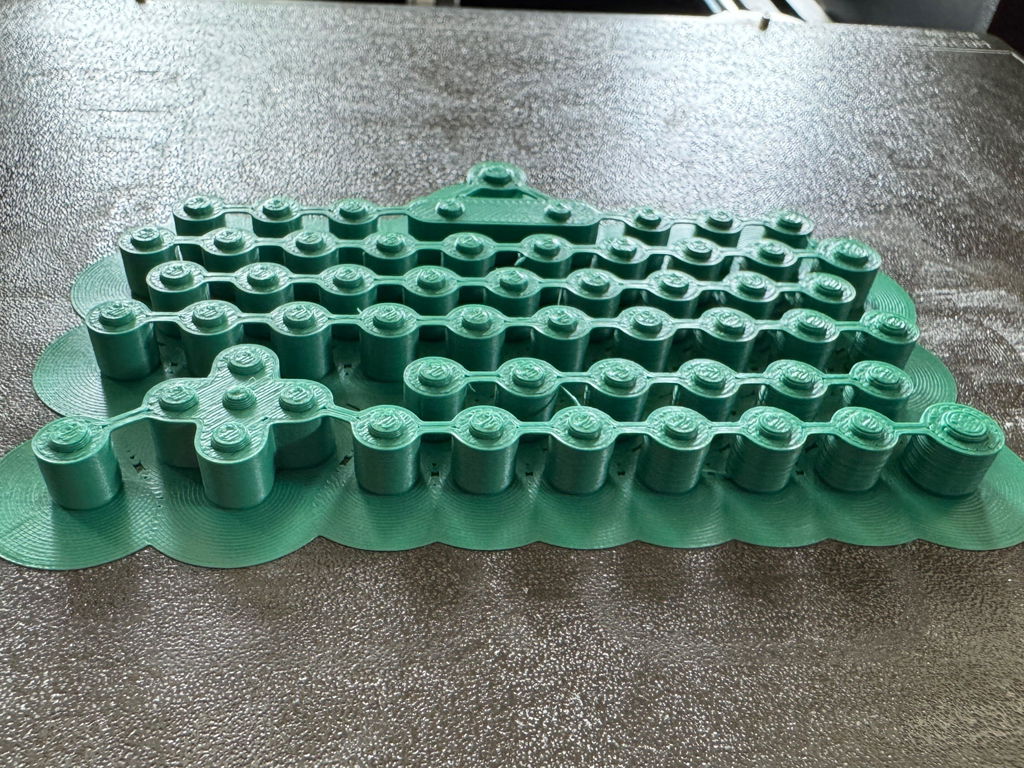
I used this for my Micron build and they made it a piece of cake to add grease to the rails. No complaints.

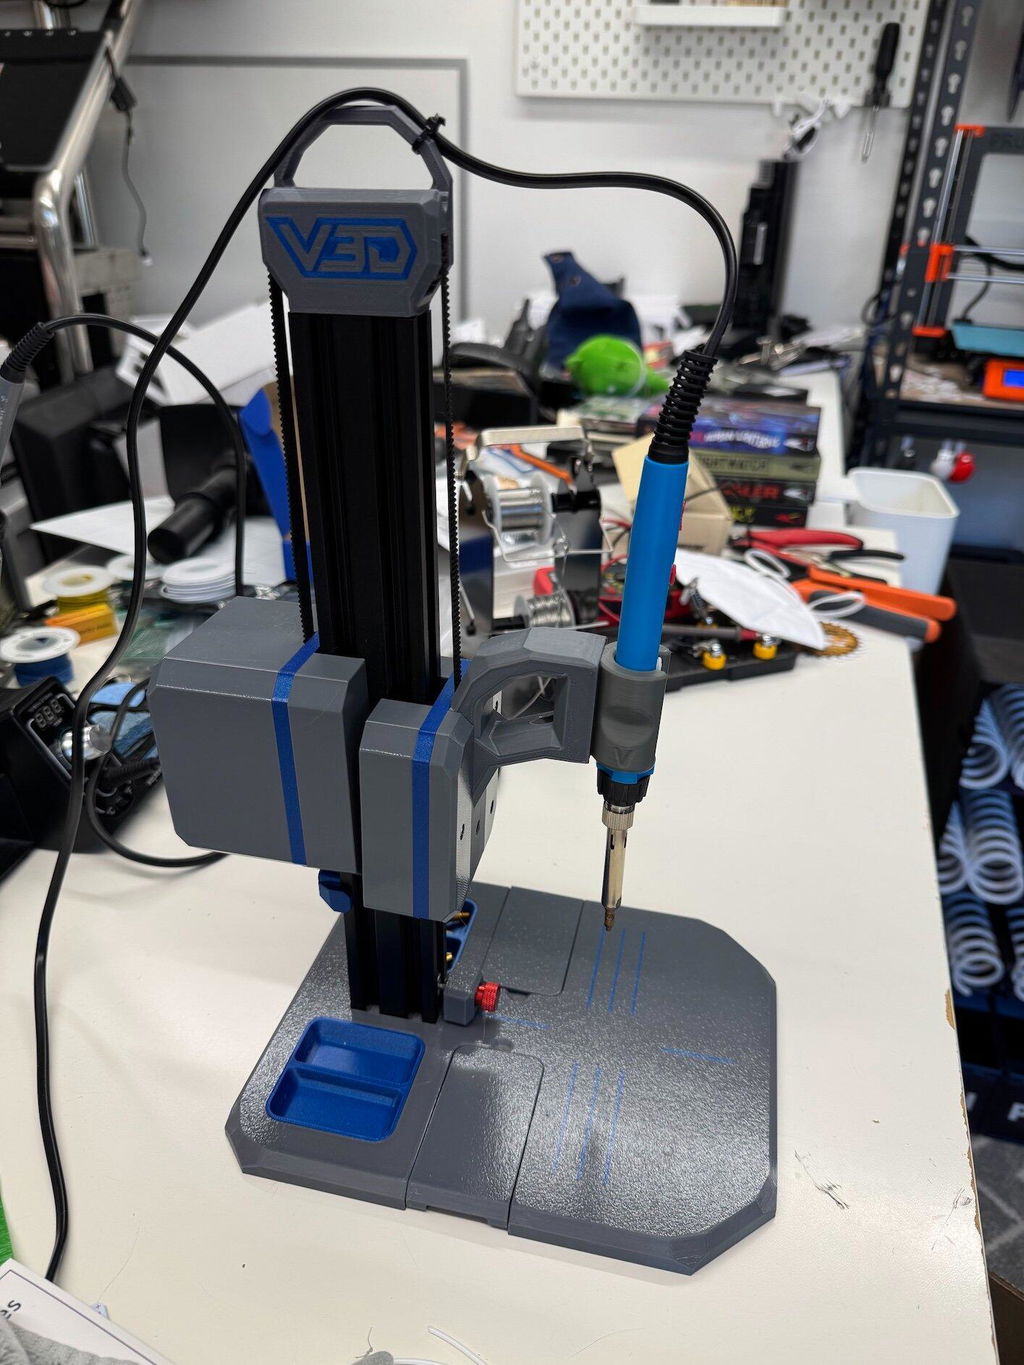
These have been super useful for installing all of the heatset inserts in my projects. It fit my cheap 900M-compatible iron well and have held up well.

Great tools to have for my Micron build, with lots of tight corners to get into in basically every size. I've used these countless times. The quality of the tools is top notch.

Compared to the V6 nozzles I replaced, these install so much easier and are more reliable. I love that the nozzles are easy to swap and visually color coded.

When I am printing on my Bambu engineering plate and want to print Nylon, PC, or something else non-standard, this is the only thing I trust. So far it hasn't let me down.

This PETG prints consistently well. My prints are clean and come out strong. I've had better luck with Ambrosia than with a few other brands. This is my go-to PETG.

Great, super fast probe, and so much easier to install and more reliable than the klicky probe for my Micron. My only wish would be if it were possible to purchase a pre-made USB cable for the Nitehawk-36 from West3D.
So much easier than trying to get all of the random pieces needed when self sourcing. Great quality.

Ordered the wrong frame and the quickly changed the order. Fast shipping and it looks great!

Best filament I've come across so far. Great colors, and great print quality.
Got this a a year ago and is still working great on my voron

I have the 355x355 on a Voron 2.4 I bought mine at MRRF 2026, have been using it every day since !
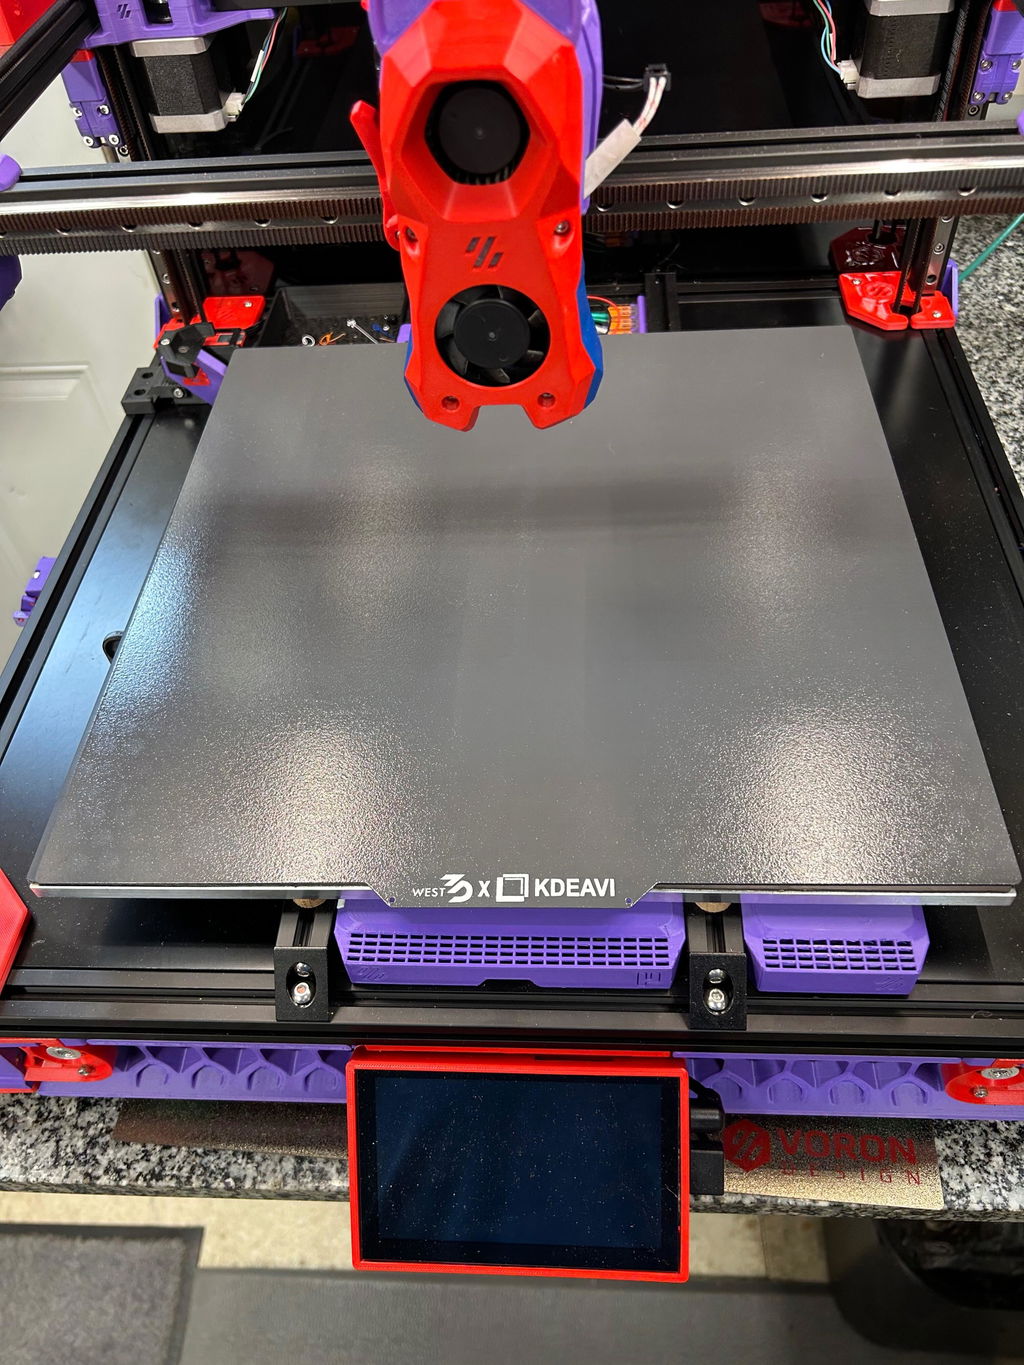
Super strong bed adhesion.
Compared to the plate that came with the kit, it’s much flatter. Kit plate using beacon is @ .150, this plate is .120 @ 60c.

First, this is a well-made product—I just don't see much of a need for it anymore. These days, many controller boards already provide convenient 5V power outputs or even dedicated ports specifically designed to power a Raspberry Pi or other single-board computers.
This module is still an excellent option for projects that require a reliable, high-current 5V power supply, but for simply powering a Raspberry Pi, especially with modern hardware, it feels unnecessary and overpowered, as a Pi is never going to be pulling 10A.
I'd recommend saving your money and putting it toward more Ambrosia filament instead.

Absolutely love this upgrade. The first thing I noticed was how much more solid and premium the enclosure feels—the overall tactile quality is a significant improvement over the stock panels. It also does an excellent job of retaining heat. Living in Wisconsin, printing ASA during the winter in my unconditioned workshop has always been a challenge. After installing these panels and adding some additional insulation, I haven't had any issues maintaining a stable printing environment, even during the coldest months.
My only minor complaints are the door panel gasket, which could be improved but is inexpensive to replace, and the slight color variation compared to my printer's frame. That said, the product page clearly states that some color variation is to be expected, so it wasn't a surprise.

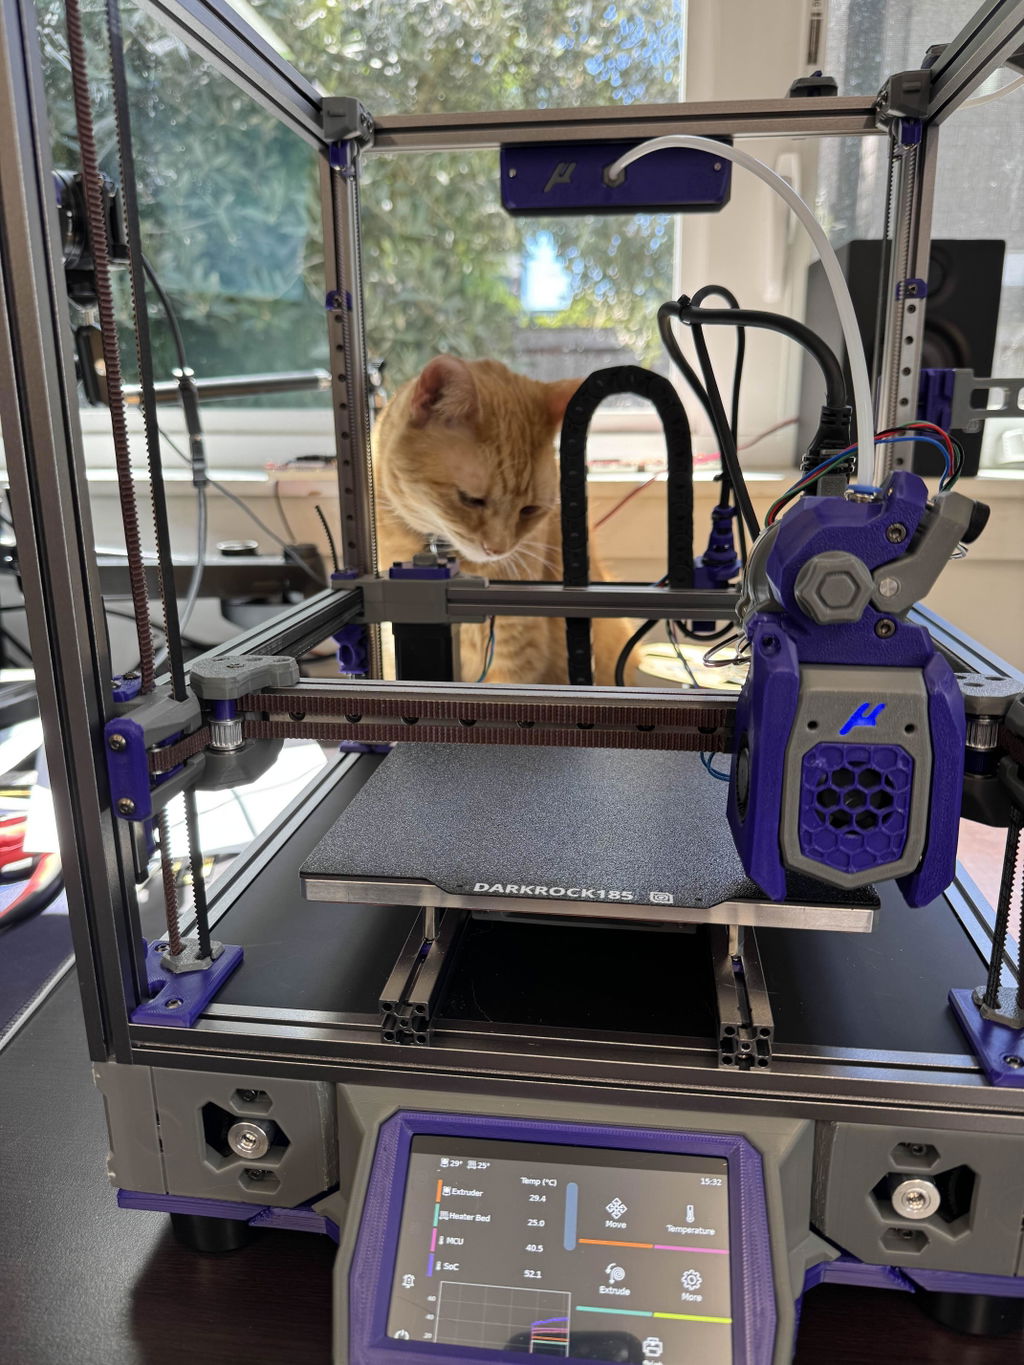
First, I want to say that this hotend/extruder combo is genuinely impressive. The extrusion quality has been excellent, with consistently clean layer stacking that I believe is largely due to the precision of the drive system. It's also an incredibly compact package, which made it a great fit for my printer. Despite that, there are several drawbacks that prospective buyers should consider:
* Filament leakage and the heat break/heater implementation
* Long-term maintenance and replacement parts
* Overall footprint
* Limited community support compared to the Orbiter v2.5
### Filament Leakage and Heat Break Design
As many other users have reported, I experienced filament leakage with this hotend. The design appears to prioritize making the assembly as compact as possible, but that comes at the cost of some compromises.
The heater must be properly tightened against the heat break to prevent molten filament from escaping. Unfortunately, because of how everything is packaged, applying enough torque without stressing the heat break is difficult. While trying to fix a leak, I slightly bent the heat break and had to purchase a replacement. It doesn't take much force for this to happen, so maintenance requires more care than I'd like.
### Long-Term Maintenance
This brings me to my biggest concern: long-term repairability.
The hotend relies on several proprietary or custom components, including the motor and heat break. Because the platform hasn't seen widespread adoption, it's difficult to know how readily these parts will be available in the years to come. If a motor fails or a heat break is damaged, replacement options may become limited.
Fortunately, this concern appears to be addressed with the REVO version and the newer Smart Orbiter v3.5, which integrates E3D REVO compatibility. Standardizing around the REVO ecosystem should eliminate many of the heat-break and heater-related maintenance concerns, leaving the motor as the primary wear item. In fact, the release of v3.5 suggests the platform is moving toward more widely adopted standards, which is great—but it also makes me wonder how long replacement parts for v3.0 will continue to be supported.
### Footprint
Although the assembly is compact overall, I wish more of that compactness had been achieved vertically instead of horizontally.
The mounting arrangement results in a relatively wide toolhead, which can reduce usable X-axis travel on many printers. I also suspect this wide footprint has contributed to the limited community adoption, since integrating it into existing printer designs often requires compromises or custom modifications.
### Community Support
This is probably the biggest practical downside for most users.
We're admittedly spoiled by the enormous ecosystem surrounding hotends like the Chube, Dragon, and especially the Orbiter v2.5. Because this is a highly integrated, all-in-one design, there simply aren't as many community-created mounts, toolheads, modifications, or troubleshooting resources available.
Before purchasing, I strongly recommend verifying that a mount for your printer already exists. If one doesn't, be prepared to design your own or spend some time modifying an existing CAD model.
### Conclusion
Overall, this is still an excellent hotend/extruder combo. Print quality has been outstanding, and I genuinely like the compact, integrated design. However, the filament leakage risk, proprietary replacement parts, wide footprint, and relatively small community ecosystem are all worth considering before buying.
If you're looking at this platform today, I'd recommend taking a close look at the Smart Orbiter v3.5. From what I've seen, it addresses many of v3.0's weaknesses by adopting the REVO ecosystem while retaining the strengths that make this design so appealing in the first place.

Great kit from LDO though a challenging first build for me. The biggest problems I had were the tension spring for Anthead is way too tight (you can cut it or get a different spring) and I could not get the klicky probe working well (so I used a Beacon, which was much easier to install and use).

It's really good I have had a little trouble bit good, I recommend it.

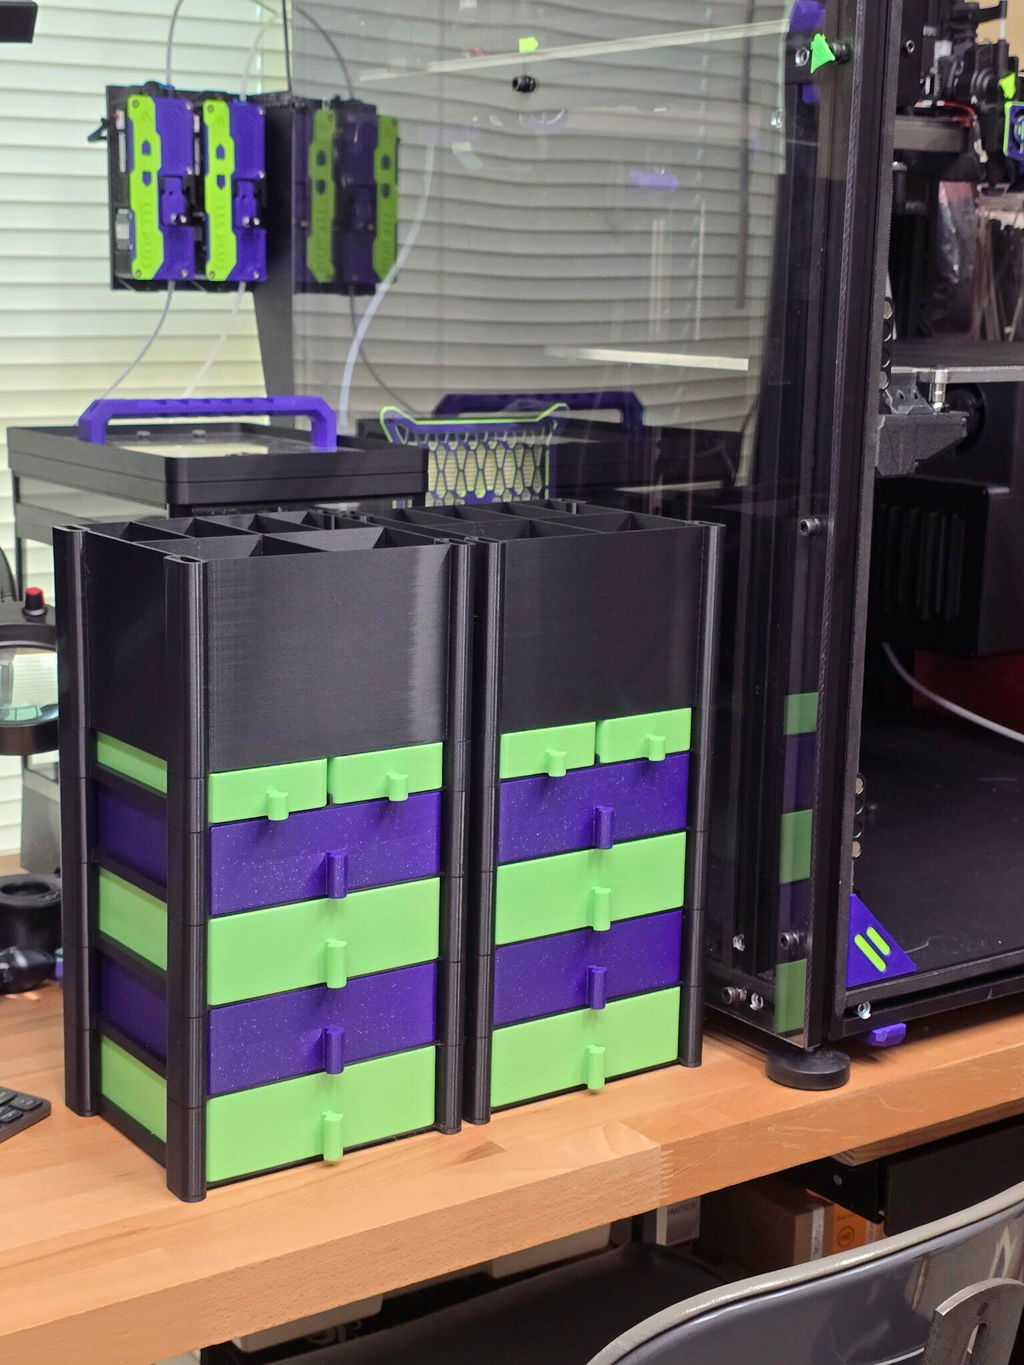
The deep, dark purple is wonderful.
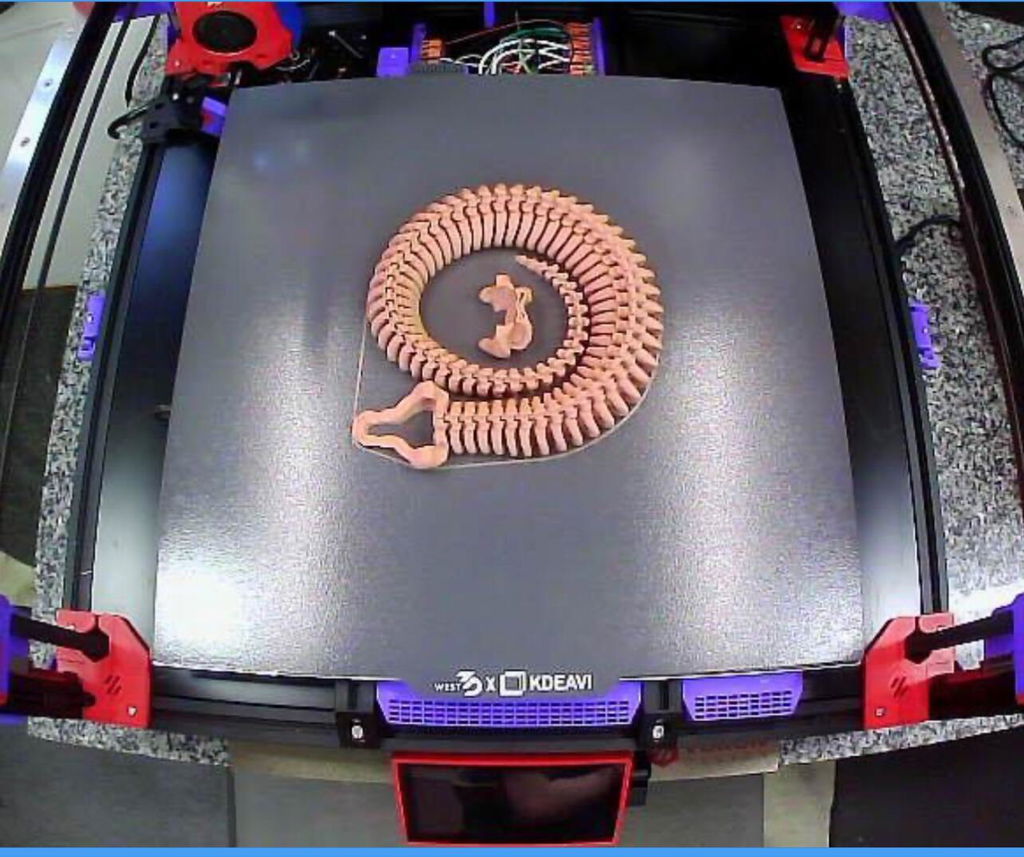
While not generally a fan of the large glitter size in many of the Ambrosia filaments for DIY printer parts, it turned out really well in PLA for this drawer/tool organizer.
The parts printed cleanly without warping and the glitter actually helped it pop a bit compared to the more satin of the green used for the alternating drawers. Printed at 30mm3/s, at 230C with 65C bed to keep the larger flat corners down, This was with a Rapido 2 Plus UHF and a 0.5 Bozzle on the RatRig VC4 IDEX, printing 2 purple and 2 green drawers at the same time.