Saw these on sale for 1/3rd of the normal price. Bought some just because I know I'll have projects in the future to use them. They're rails that work. I guess people might not have liked the black color or maybe the color wears off or something. No idea. Function over form for me. Let me know if they go on sale again. I'll get more.

The SV08 is a monster of a deal for the printer that you get. That said, the areas where they made their cost savings to get the price down seems to be in the electronics. Nothing wrong with that but it means the all in one board gets replaced if anything gets burned out. At this price, it's worth it. Trying to move to a more robust mobo and wires to make it work will still put you out double this price.

What i love about it, you can flip the printer without removing the bed, so you can work on the electronics.

Ambrosia filament is my favorite for pla and petg. Prints great and the colors are awesome.

Well packed and delivered promptly

What can I say highly expensive. But it worked as it should. Installation was straight forward. No problems here.

Very interesting material! Really love the idea of biodegradable material to remove the waste guilt for failed/test prints. It is quite soft (low tensile strength?), has some flex before breaking and has a matte finish. I wouldn't call this a PLA replacement since it lacks PLA's rigidity/strength and bridging support isn't as good as other plastics. I haven't found a mechanical use for it besides using it for test prints before re-printing in a stronger material. I also couldn't get Creality Slicer to accept a bed temp of 0, so I used PrusaSlicer instead. For my prusa mk3.5 0.4mm, Temp: 210, Bed: 0, Extrude: 1.05, Cooling: 80-100%, Max vol: 9mm3/s, Ramping lift up to 0.2mm, 35 deg slope, 1 mm retraction length, wipe 80%, 20mm/s bridges, 8mm outer brim with 0 separation gap.
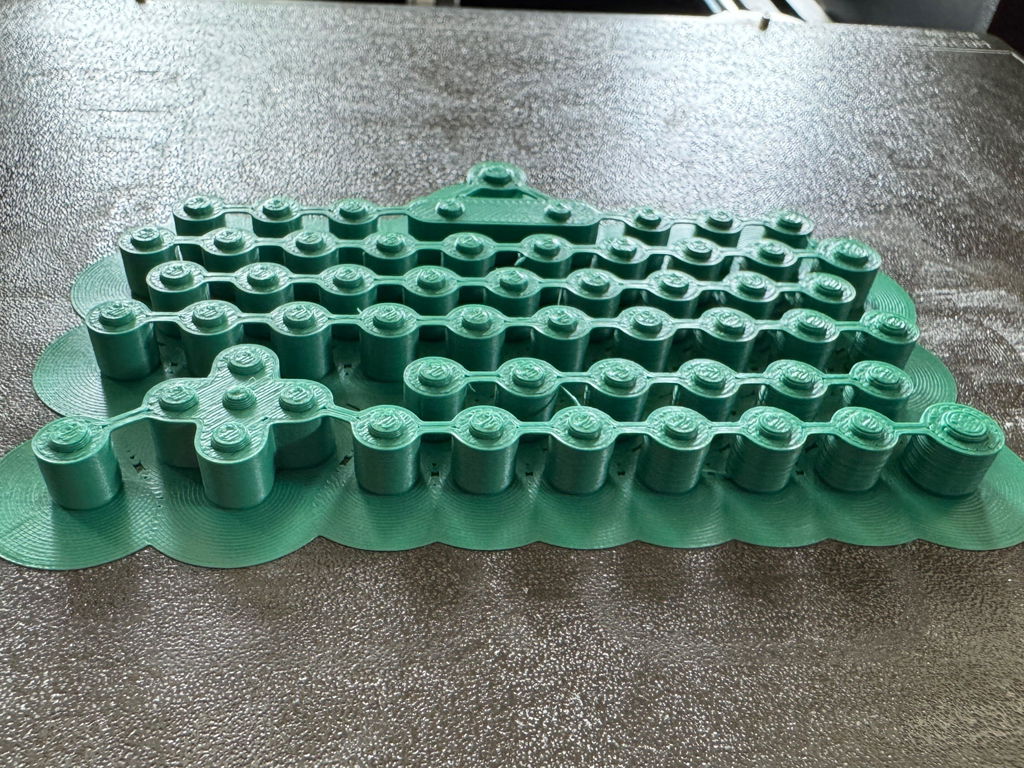

Makes inserting all of the inserts for my printer builds a lot easier, and it was a fun project as well.

Well, for starters, the GitHub locks of instructions on how to assemble it, but let's be fair, a lot of projects depend on you using a CAD software, which I think it shouldn't be happening in 2026.
Now, the LDO kit. The quality parts, everything well packed, nothing wrong with that. However, there are a lot of missing parts: you need to source your own M3 nuts, your own screws to build the frame and I don't know if the GitHub has a revised version of handle, but the M3x14 didn't work, I had to use my own set of M3x16.
Either LDO double-check their kits or make a GitHub with their own version, or update the hardware on them.
Also, I didn't notice until now, but the extrusions are longer than spec, about 2mm longer. Seriously I'm disappointed of the lack of quality control.

Overall this has been working quite well and will probably be a go to mod for any future builds.
Assembly is a bit annoying lots of small parts to manage. I agree with the other reviews that some extra of the small pieces would be a good QOL change. Overall seems like a good product and a fair price.

Thanks West3D for selling SSRs at a fair price. Finally get to run my Voron beds with full power within safety margin.

Best filament I’ve ever used. Love the colors and prints smooth and fast.

I used this for my Micron build and they made it a piece of cake to add grease to the rails. No complaints.

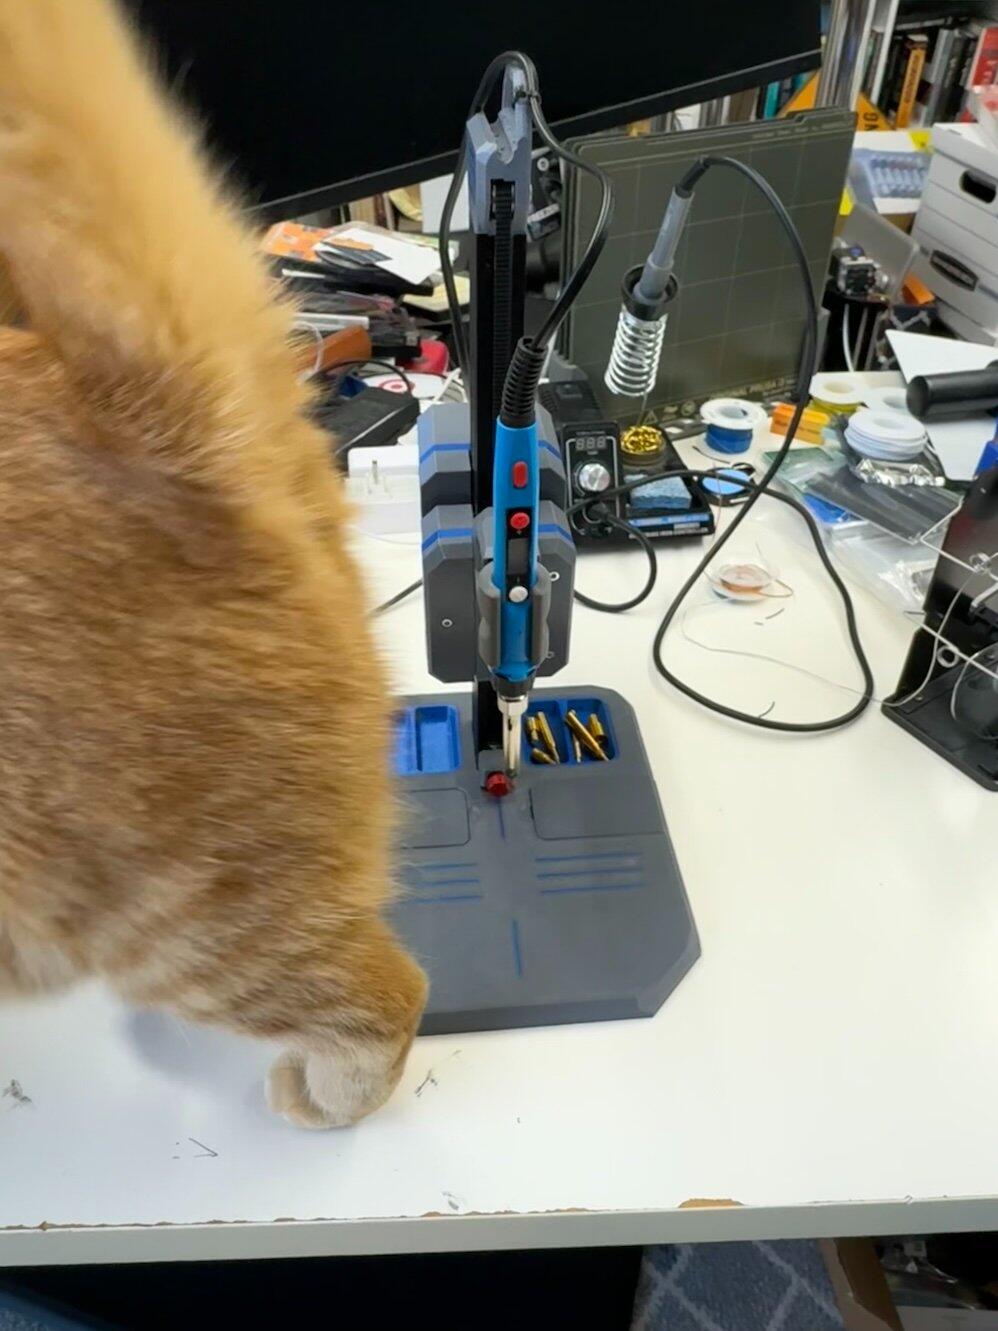
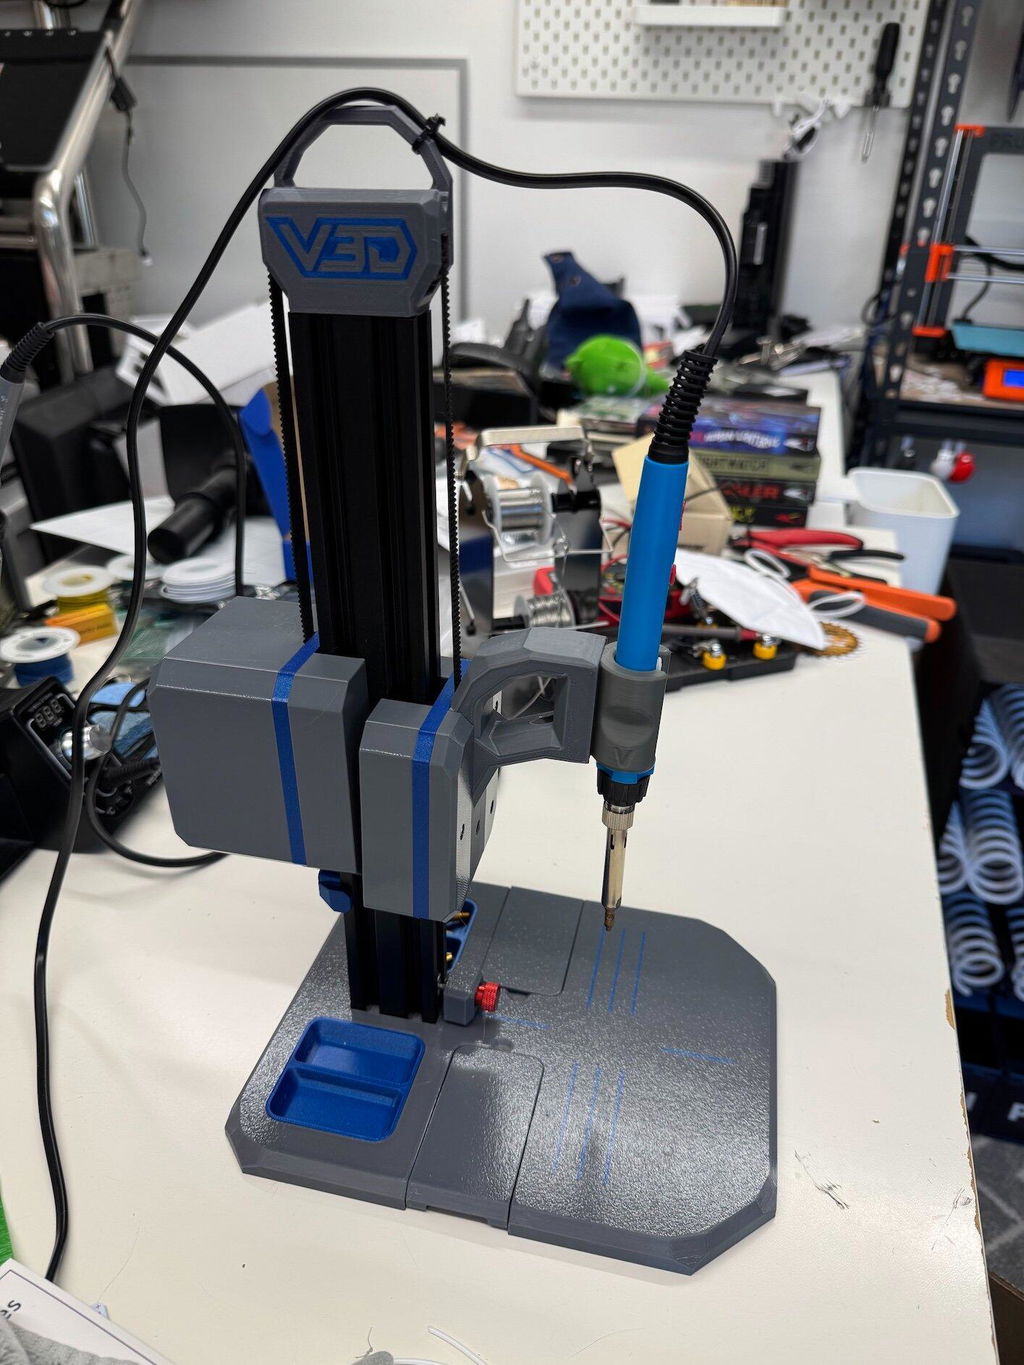
These have been super useful for installing all of the heatset inserts in my projects. It fit my cheap 900M-compatible iron well and have held up well.

Great tools to have for my Micron build, with lots of tight corners to get into in basically every size. I've used these countless times. The quality of the tools is top notch.

Compared to the V6 nozzles I replaced, these install so much easier and are more reliable. I love that the nozzles are easy to swap and visually color coded.

When I am printing on my Bambu engineering plate and want to print Nylon, PC, or something else non-standard, this is the only thing I trust. So far it hasn't let me down.

This PETG prints consistently well. My prints are clean and come out strong. I've had better luck with Ambrosia than with a few other brands. This is my go-to PETG.

Great, super fast probe, and so much easier to install and more reliable than the klicky probe for my Micron. My only wish would be if it were possible to purchase a pre-made USB cable for the Nitehawk-36 from West3D.
So much easier than trying to get all of the random pieces needed when self sourcing. Great quality.

Ordered the wrong frame and the quickly changed the order. Fast shipping and it looks great!

Best filament I've come across so far. Great colors, and great print quality.
Got this a a year ago and is still working great on my voron

I have the 355x355 on a Voron 2.4 I bought mine at MRRF 2026, have been using it every day since !
Super strong bed adhesion.
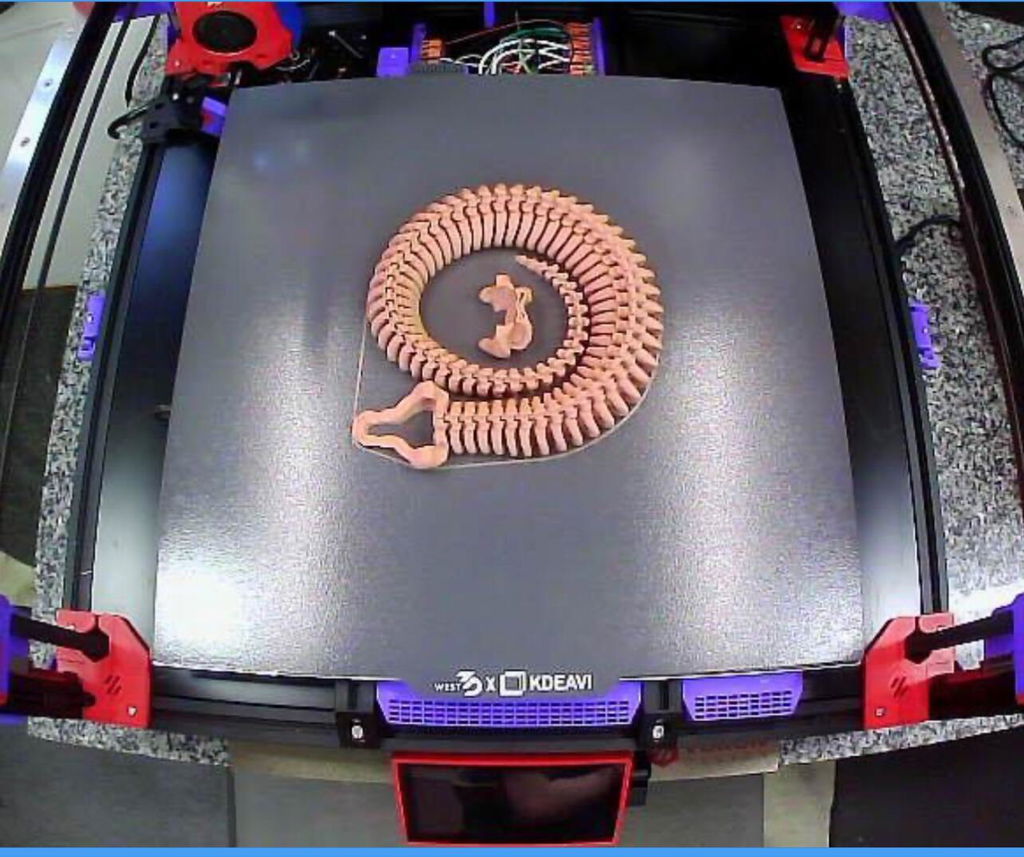
Compared to the plate that came with the kit, it’s much flatter. Kit plate using beacon is @ .150, this plate is .120 @ 60c.