Standard Wiring Harness for Voron 2.4

NASKU: FO0015320

Price:
Sale price$59.99

Customer Reviews

Based on 1 review
0%
(0)
0%
(0)
100%
(1)
0%
(0)
0%
(0)
M
Matt
This package is ok.

I’ve had to change a good amount of the wiring for my octopus controller and a good amount of the wire doesn’t get used. You’ll still need your own Microfit and JST connectors. Be carful and deliberate when unwinding the wire as is kinks pretty easily.

Description

PLEASE READ THE FULL DESCRIPTION


We have been looking for a reasonable alternative to what seems like very costly wiring harnesses that take it a step above your standard low cost options (e.g. PVC) and this is it. This pre-crimped harness comes with all wire (including mains), and holding brackets to help clean up your wiring. This has been updated for TAP probe, and includes some goodies (like wire for nevermore). This batch has removed toolhead wiring to be flexible with whatever you decide to go with (e.g CAN, 14-pin harness etc.)

This kit comes pre-crimped for an Octopus controller board and comes with power connectors standard for the Tyco Power Inlet and ZF Rocker switch. The kit wires are provided at length for a 350mm build, however will work with smaller builds as well (with extra wire of course). By default this is intended to use with an XY and Z Endstop - you can find them here (here for hall effect), and here for Z endstop - note these are pictured, but not included.

Below is a brief summary of what is included:

Wires to connect from the breakout to the Octopus board

Tap Wiring

Neopixel wiring (pre-soldered)

Bunker
PSU to RPI

PSU to Controller (20AWG)

XLPE (26AWG - 125C)

Z Motors

XY Motors


PVC (20AWG): 

SSR to Heatbed

Please note- because this contains wiring similar to the 2.4 Pro by Formbot we include the below note: if you follow Formbot’s wiring diagram (as of 12/30) please use the below fix.

The Problem
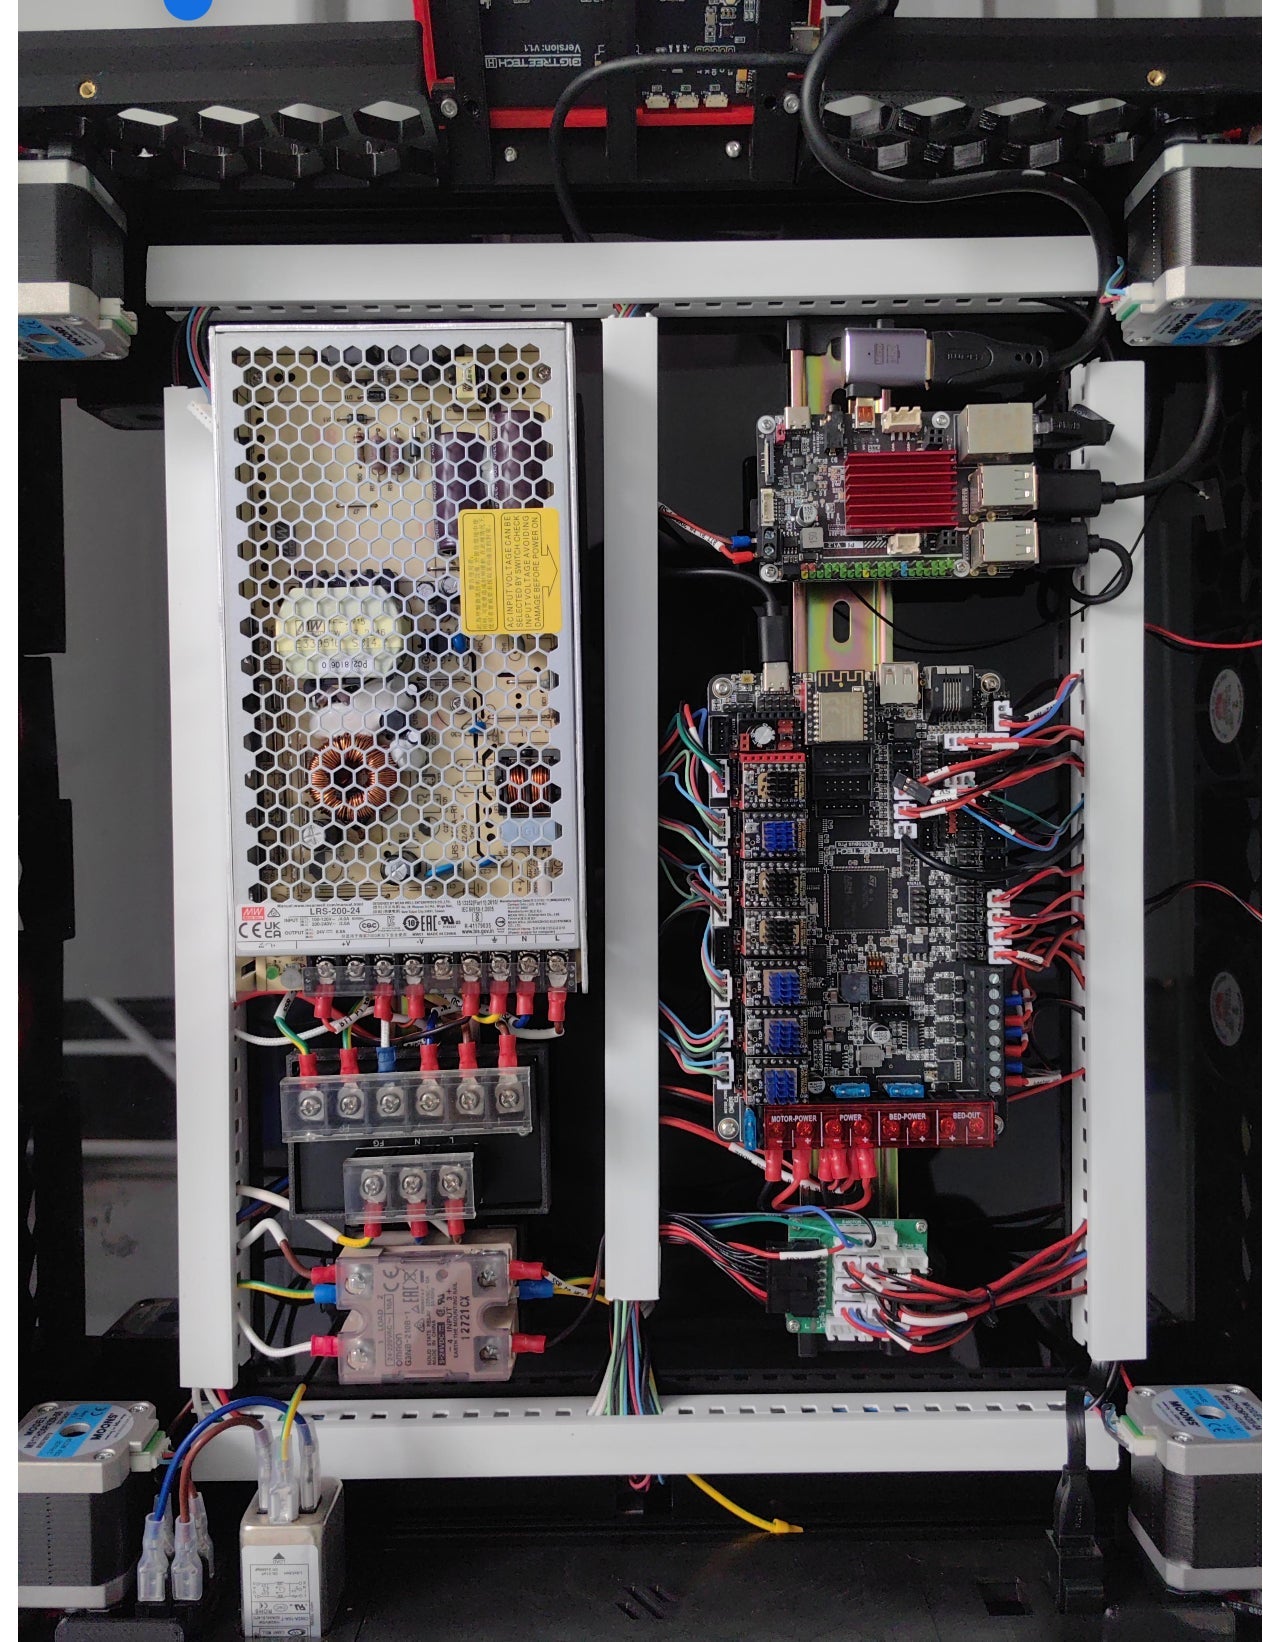
1. The cable labelled Board-PG15 to PCB-ABL contains a wire which connects 24V (Breakout board) to 3.3V or 5V (Octopus). As soon as this is powered, it will cause damage to the Octopus, and likely any pi that is connected as well.
bad.pngwire.png
2. The unlabelled wire (single blue wire), and the cable from part 1 are swapped.

The Solution
1. Remove the red wire from the Board-PG15 cable entirely. It is not required. Please make sure to remove it entirely at both ends, or at least tape it off so it isn't wandering around loose in your electronics bay
2. Swap the Black cable, and the blue cable at the octopus.
good.png


You may also like

Recently viewed